
I bet that regardless of how seasoned one is as a teacher, there is always a question in one's mind about the best way to spend that first week of school...
It is the time to establish procedures, lay out expectations and open lines of communication. I also find it to be the best time to start building the Thinking Culture. Throughout the year my students and I consistently work on making connections between the topics we learned or were familiar with before a course started. I often model the creation and use of mind maps, and it had always been on my mind how to help students come up with their own ones, rich with knowledge at their current curriculum level. I had some success with it over the years, but I always felt that there could have been a better way to explain how I want my students to work on it.


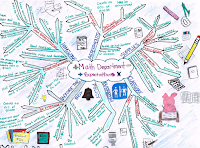
 I realized that it makes more sense to have this conversation far removed from Geometry topics, but with something engaging, something that kids could be curious about, yet not overwhelmed by it. I chose the topic of Saving Energy. Last year I finally structured it into a formal How To Mind Map Lesson Plan for the first week of school. This kind of helped me commit to the idea of weaving Mind Mapping throughout the curriculum. This meant that my expectations for the amount of work we would be able to get out of "thinking this way" during the school year was doubled, and doubled it was! I followed up with a little home project on making a mind map on class expectations, and was pleasantly surprised with the outcomes: so many students demonstrated artistic skills and creativity well above and beyond my own... and one more surprising effect: seeing the results actually changed my first impressions of the students or, rather helped me see their facets that I had not seen yet... I included some samples for your appreciation.
This summer, the "silly" in me, and the spirit of experimentation, helped me make the video (see below), in the hopes that it will be easier for my students to refresh our class conversation, when it starts to fade away. Feel free to check it out here or on my youtube channel. It is one of my first ones...but it already gave me a taste of skills for the 21st century...but it could be a different post...
So...for this September I animated my lesson and Included the Project description in SmartNotebook, to make the presentation more streamlined, with visuals, to get my point across faster, plus, if my colleges ever wanted it, it would be available for them.
It is the time to establish procedures, lay out expectations and open lines of communication. I also find it to be the best time to start building the Thinking Culture. Throughout the year my students and I consistently work on making connections between the topics we learned or were familiar with before a course started. I often model the creation and use of mind maps, and it had always been on my mind how to help students come up with their own ones, rich with knowledge at their current curriculum level. I had some success with it over the years, but I always felt that there could have been a better way to explain how I want my students to work on it.


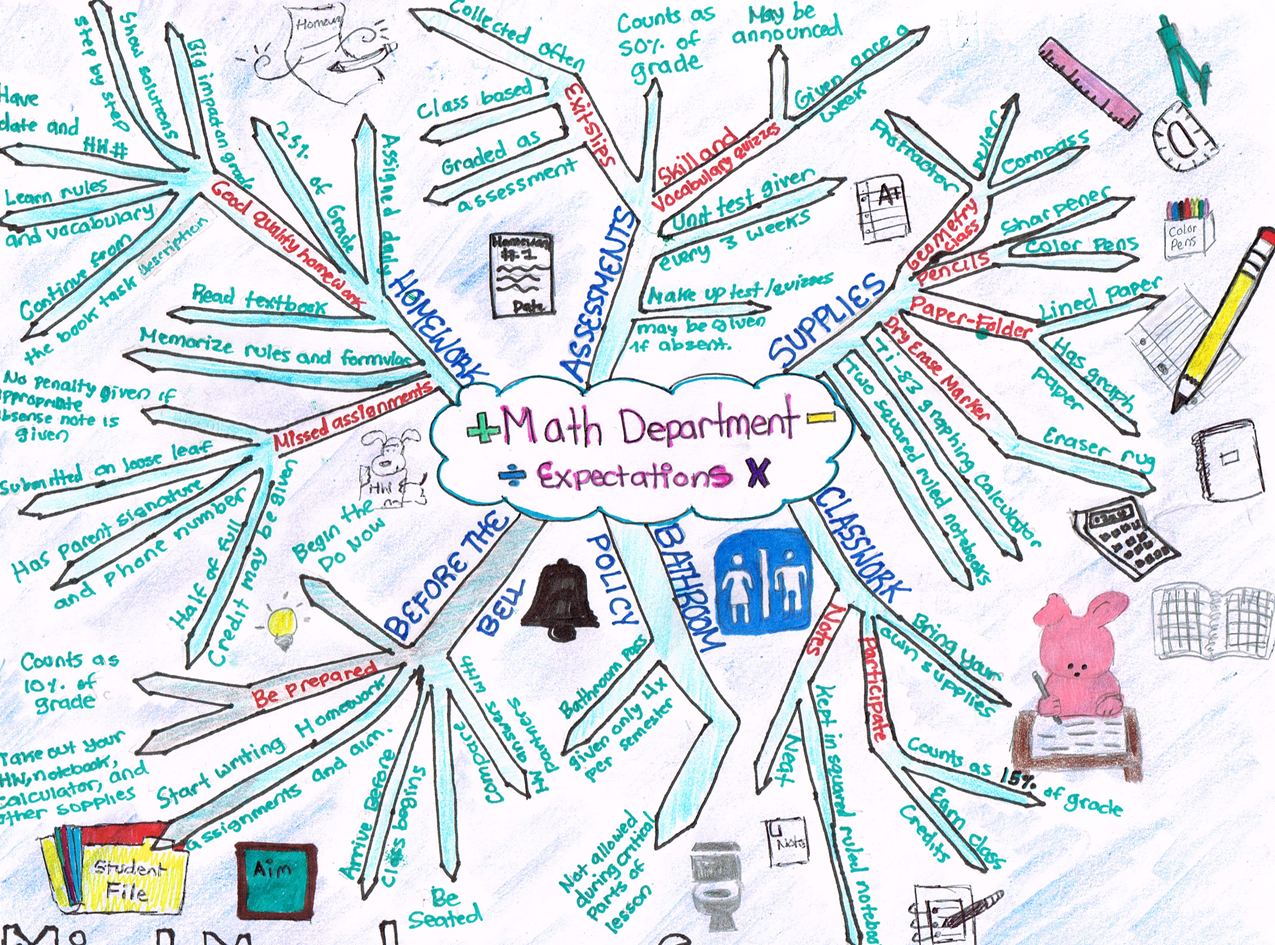
 I realized that it makes more sense to have this conversation far removed from Geometry topics, but with something engaging, something that kids could be curious about, yet not overwhelmed by it. I chose the topic of Saving Energy. Last year I finally structured it into a formal How To Mind Map Lesson Plan for the first week of school. This kind of helped me commit to the idea of weaving Mind Mapping throughout the curriculum. This meant that my expectations for the amount of work we would be able to get out of "thinking this way" during the school year was doubled, and doubled it was! I followed up with a little home project on making a mind map on class expectations, and was pleasantly surprised with the outcomes: so many students demonstrated artistic skills and creativity well above and beyond my own... and one more surprising effect: seeing the results actually changed my first impressions of the students or, rather helped me see their facets that I had not seen yet... I included some samples for your appreciation.
So...for this September I animated my lesson and Included the Project description in SmartNotebook, to make the presentation more streamlined, with visuals, to get my point across faster, plus, if my colleges ever wanted it, it would be available for them.


